Do you want to watch your favorite shows but have a mind-break on how to download Netflix on Kodi? Fear not, this article is all you need for your peaceful “Netflix and Chill”.
We prepared a fresh, thorough, and simple guide for you to set up Kodi add-ons for Netflix. It might not seem easy but bear with us as we explain all the nuances and details regarding add-ons for Netflix and how to watch Netflix on Kodi.

Context
First things first, let’s do a quick overview of all the terminology you would need for this step-by-step guide to avoid any misunderstandings.
Netflix is one of the popular streaming services that allow you to watch instantly your favorite shows and movies in one library. Installing Netflix is not a problem as you just create your account on an official website and make your subscription to the service.
Kodi is an open media source player software application. It allows its users to view content from streaming services (like HBO Max, Amazon Prime, YouTube, Spotify, etc.) from home cinema.

FireStick is a streaming device that lets you stream video content, install applications, play music, and many more.
VPN (a.k.a. Virtual Private Network) is a computer technology with the help of which users can preserve their anonymity and secure their private information when they connect to web services and sites.
A repository file is a computer storage that contains data and software packages. It can also contain video addons that are helpful for setting up your Netflix.

You will also be interested to know, how to install Lime Player on FireStick.
Why is this so problematic to watch Netflix on Kodi?
It is not an issue to watch Netflix on Kodi, as it is to download and access it. The reasoning is that Netflix does not suggest to its subscribers any official add-ons for Kodi.
Luckily, there is a possibility to find an unauthorized Netflix add-on made by third-party developers. It is a legal method, and you don’t have to worry about breaking any rules. It offers you access to Netflix and its library integration, as well as other useful functions.
However, there is a precaution you need to take into consideration. To ensure your online safety and the privacy of your data, it is recommended to install a VPN when you are about to watch Netflix on Kodi. You do not want to risk someone hacking into your device or account.

What VPN to choose?
There is a huge variety of VPN services you can select from. One of the most reliable ones that go well with the Netflix addon is considered to be ExpressVPN.
Express VPN offers a higher level of protection and has one of the fastest global servers, which allows you to watch Netflix without interruptions. Moreover, there is a wide range of server locations you can choose from and allows you to browse the internet through any part of the world.
Other worth mentioning VPN services you may be interested in are our CyberGhost and IPVanish.

Both offer high-quality service and protection, so you need not worry about your cyber safety while setting up an add-on and watching Netflix on Kodi.
Overall, when you look for a sustainable VPN for Netflix, you need to get your attention on:
Excellent security and privacy features. (Kill switch, no-logs policy, and 256-bit AES encryption)
Fast speed. (At least 25 Mbps)
Global Server Network.
Easy to use.
Reliable refund policy guarantee.

A step-by-step guide to install Netflix Kodi addon
As we covered the basic information, now we can move to the actual guide. If you follow these steps, you can successfully get your Netflix add-on installed on Kodi.
Before starting, make sure you download ExpressVPN or any other VPN service to ensure your data from being leaked to hackers.

Part 1: Add a Repository Source to your settings
You would need a source named Fusion TV, which also includes the CastagnaIT repository. CastagnaIT repository contains Netflix.
1) Firstly, download or upgrade your Kodi to Kodi 19 (Matrix). Previous versions of Kodi (like Kodi 18 Leia) would not be compatible, so be sure to have the latest update.
Head to the official Kodi website and download an applicable installer according to your operating system.
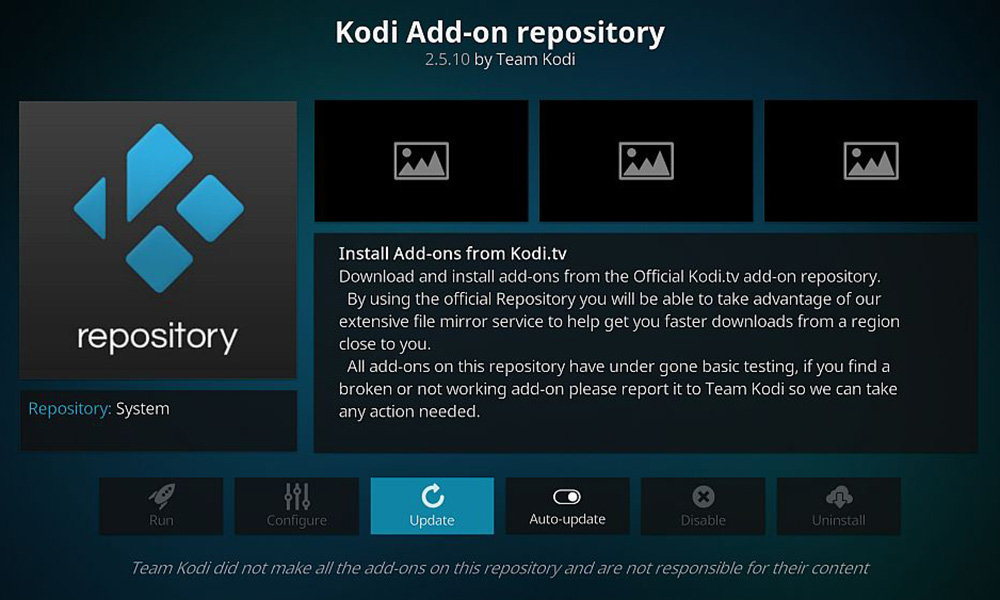
2) Secondly, open your Kodi app on Fire TV.
3) Open the Kodi home page and select Settings in the top-left corner (the gear icon).
4) Open the “System” menu on the bottom right of the page.
5) Search for the “Add-ons” tab on the left panel and click on it.
6) In the right panel there is a switch called “Unknown Resources”. Make sure to turn it on.
7) A window will show up to confirm your choice. Click “yes”.
8) Go back to the “System” menu. Choose the File Manager option.
9) In the File Manager, click the “Add Source” button and then press “None” to add the URL address to add your media source.
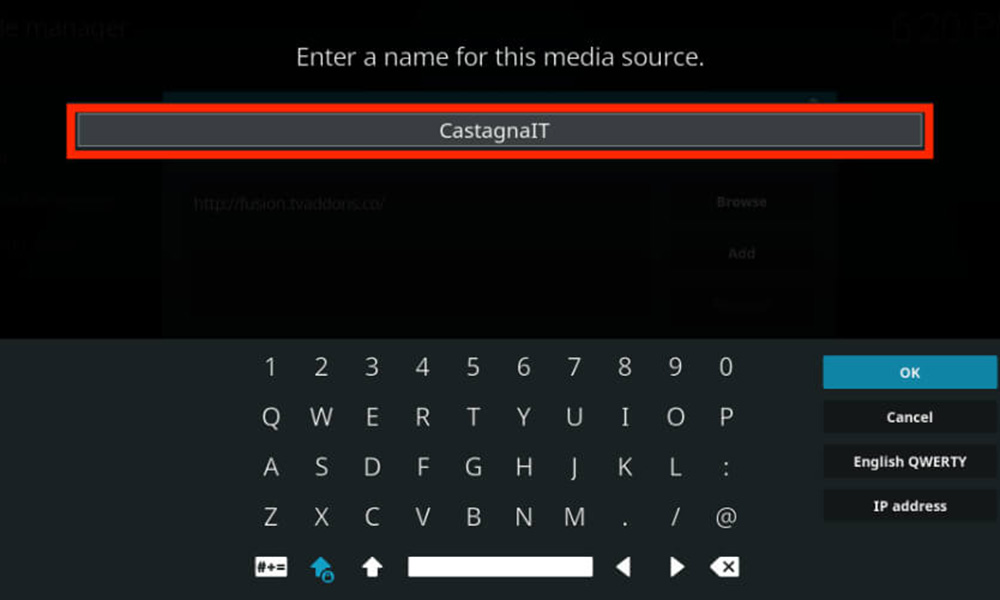
10) Enter the URL for the repository you want to access (Recommended: CastagnaIT Repository or Asciidisco).
Name your media source file for you to easily recognize it. You can name it after the repository of your choice (for example, castagnait)
Congratulations, you added your repository source to the settings! We are almost close for you to setting up your Netflix addon. Now we can move on to the next part.
Part 2: Install the CastagnaIT repository
After we added the link to your repository of choice, we can proceed further and install it from a zip file. For this guide, we are using the CastagnaIT repository.
1) Go back to the Kodi Home Screen and click the “Setting” menu.
2) Choose “Add-ons”.
3) From the suggested list, choose the option called “Install from zip file”
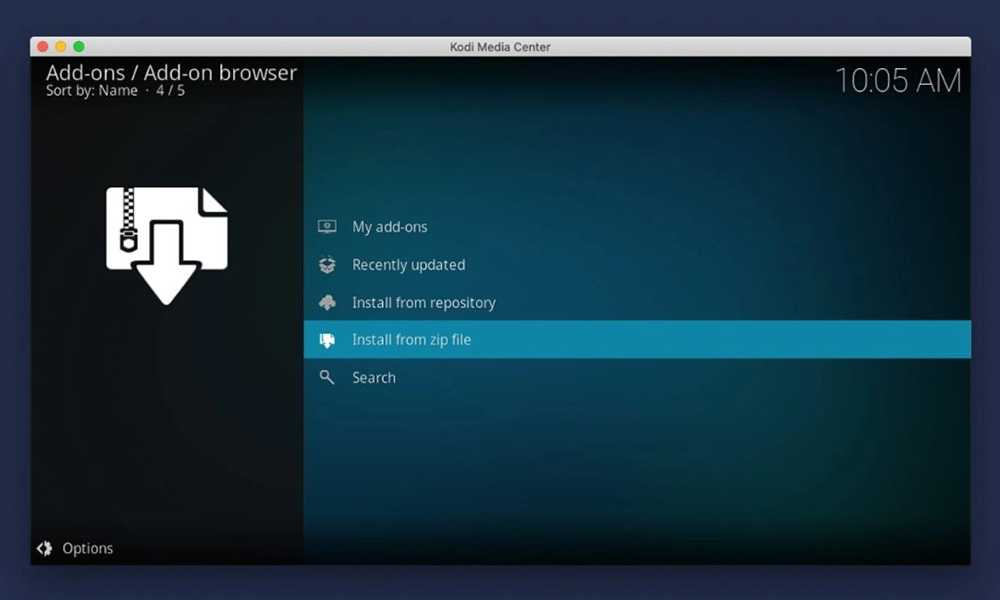
4) Find the name of your file (URL of a repository) and select the Install button.
5) On the same “Add-ons” screen, find “Install from Repository” to view all repository files.
6) Again, find the name of your chosen repository file and click it.
7) Then select “Video Add-ons”.
8) You may wait a little bit for notification of the completion of the installation process.
Congratulations again! Now you are almost done with setting up your Netflix Kodi addon!
Part 3: Install Netflix Kodi addon
Now for the final step, we need our Netflix to be downloaded into the system. Here is what you need to do next:
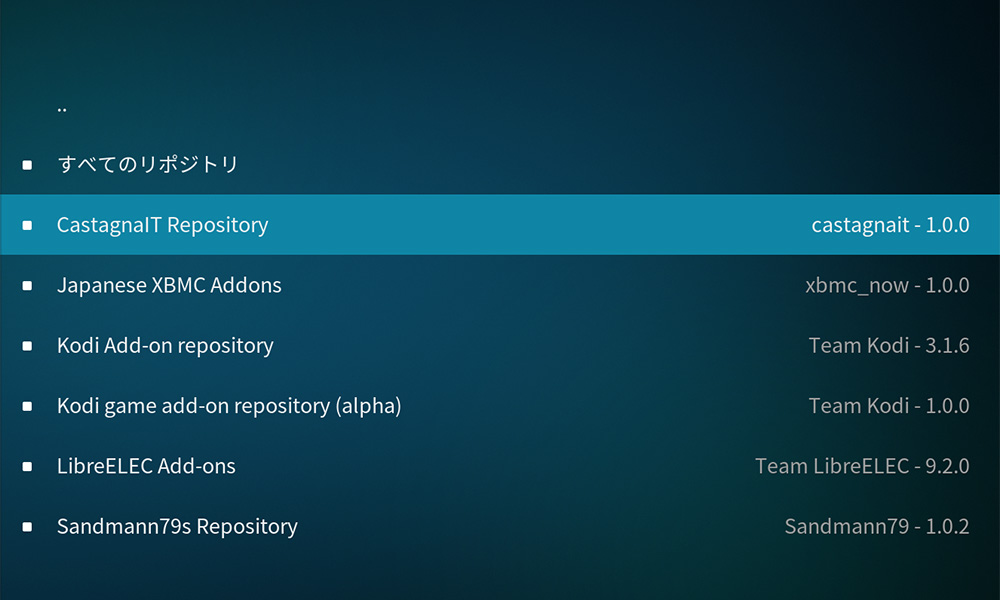
1) After installing your repository (in our case, the CastagnaIT repository), you will be automatically redirected to the “Add-ons” screen.
2) Select “Install from repository”.
3) Locate your chosen URL file and choose “Video Add-ons” where you can find Netflix
4) Install Netflix. Select Netflix and click install.
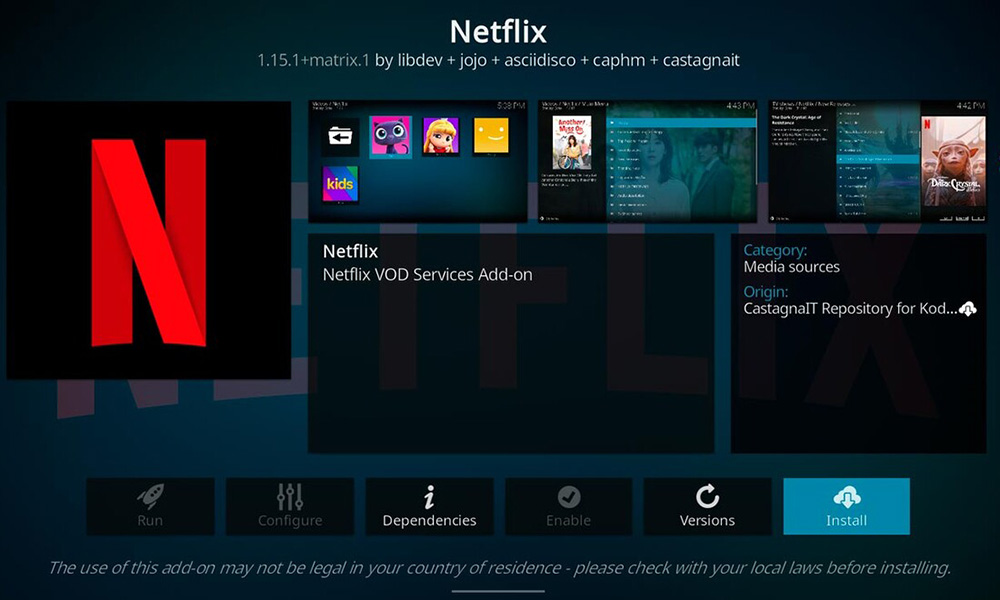
5) Select the top version file to start installing Netflix. You want to get the newer version of the application. Click the “OK” button to continue setting your Netflix Kodi add-on.
6) Wait for the final notification, which would say “Netflix add-on installed” or “Netflix background services started”.
Here you go! Now, you are all settled in and can start streaming your favorite shows on your Netflix account!
Hopefully, this Kodi Netflix addon installation guide was useful for you. If you need any help with setting up your Netflix account, stay for part 4 of this article, and we will explain it to you as well.

Part 4: Set up your Netflix account
If you already have a Netflix Subscription, you can immediately set up your Netflix Account on the Kodi Netflix addon.
1) When you access Netflix for the first time, you will be required to InputStream Adaptive add-on. Install it by pressing “yes”.
2) Enter your Netflix credentials by selecting the Email/Password option given to you.
3) Type your email and password to access your Netflix Account.
Or, in some cases, you will get an error message. It may present some challenges to setting up your account using Netflix login credentials because of the anti-bot features of Netflix.
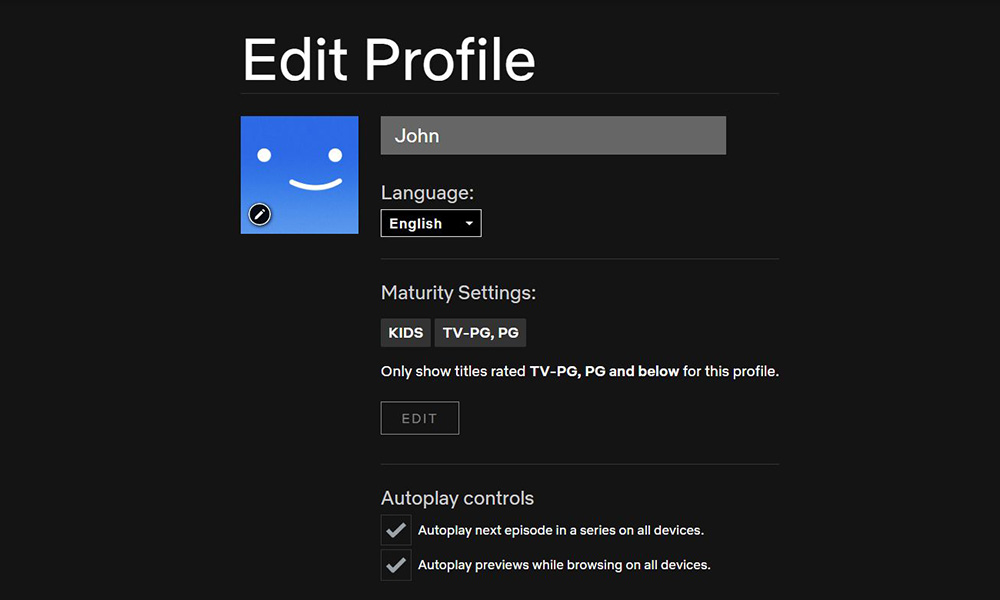
Therefore, there is another method.
In case you get the error message “Incorrect password”, use the Authentication Key option.
To use this option, you are required to download and run a script on your computer. You will be redirected to a web browser and asked to log in to your Netflix. This step will help you get your authentication key on a file and give you a 4-digit PIN code.
You will be required to use an authentication key, PIN code, and password to access Netflix. Thankfully, you only need to go through this process once, and then you can start streaming your Netflix content.
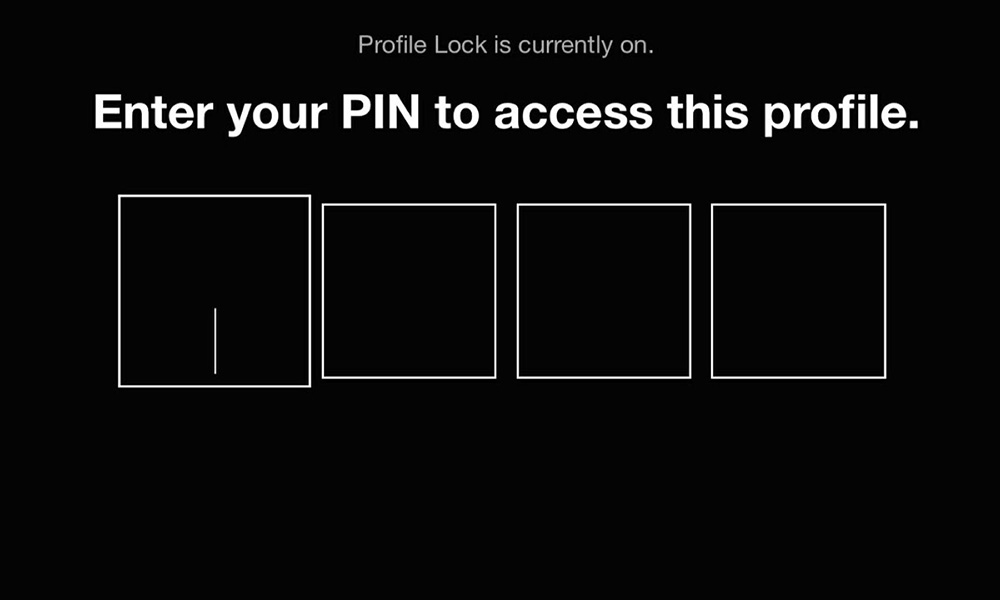
For that, you need to select your Netflix profile. Use the Kodi add-ons’ main menu to see the collection of shows and movies presented by Netflix.
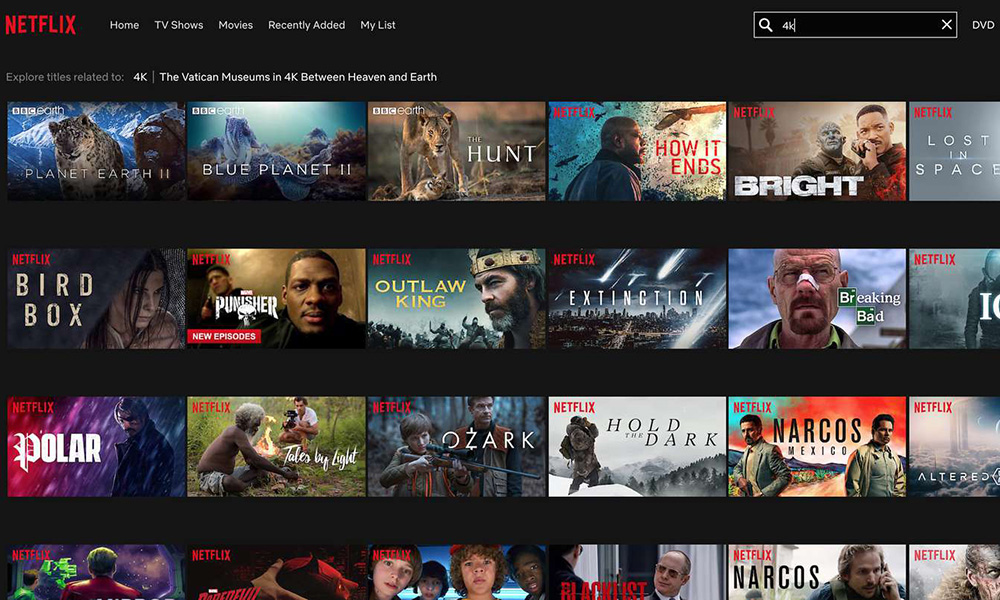
You may also face trouble accessing higher-quality content.
To access Netflix’s HD feature for streaming movies, Netflix requires a Widevine L3-certified playing device. If you do not have Widevine L3 certification, you may not get access to Netflix content.
What can improve the situation?
The possible solution for the case is to edit the serial number of your device (ESN).
1) Highlight your Netflix add-on, open the Context menu, and press Settings.
2) Switch to the Expert tab and press ESN/Widevine settings in Advanced add-ons Configuration.
3) Select Change ESN and edit it. Confirm changes by pressing Apply Changes Now to save the new ESN.
You can also enable Force L3 and press Apply Changes Now. Try to play a video to see if it worked.
This can help you to block error messages like “Request Blacklisted by Exchange Service”.
Here is the end of our step-by-step detailed guide for downloading the Netflix Kodi addon. Hopefully, now you can enjoy your cinematic experience while using the Netflix streaming service on Kodi.
Have a good Netflix session!

Additionally, you will be interested to read the article – Ultimate guide install Netflix Kodi.
FAQs
Is there a Netflix addon for Kodi?
Unfortunately, there is no authorized Netflix addon for Kodi yet. Nevertheless, Netflix is quite suitable with Kodi and there are unofficial but legal Kodi Netflix addons written by third-party developers.
You can get it using the CastagnaIT repository you can find on GitHub
However, to use those unauthorized Netflix add-ons, you are required to download a VPN to protect yourself from any potential hacking while viewing Netflix content. Express VPN is considered to be a reliable one in that case.
How do I download Netflix on Kodi FireStick?
Download or upgrade your Kodi.
Open GitHub and get Netflix repository files. (Recommended to use CastagnaIT repository).
Then open the Kodi Home Screen and install the Netflix Kodi add-on from a zip file following our guide.
Follow our guide to provide yourself with detailed instructions on how to work with video addons using Kodi settings.
How do I install Netflix on Kodi 18 Leia?
You cannot set up Netflix on Kodi 18 Leia because add-ons are not compatible with old versions of Kodi.
What you can do instead is update your Kodi or download Kodi 19 Matrix on their official website based on your operating system.
Only after, you can access the Netflix Kodi addon.
Then you follow our guide and have your Netflix Kodi addon.
How do I install Netflix on Kodi Raspberry Pi?
To download Netflix on Kodi Raspberry Pi, you need to add Netflix to the Kodi interface.
Then go back to the main menu and choose Add-ons web browser in Settings.
Download the zip if you have the option.
Select the Home folders and choose “Adjustments”
Download files only in zip format.
Follow our step-by-step guide for detailed instructions on the Netflix Kodi addon.


